NVM - Node.js Version Manager
When maintaining Angular apps and other Javascript-based libraries, you will come across the need to have a specific version of Node.js running on your development host.
Node Version Manager, is a Windows based package, that will swap in desired versions of Node.js as needed.
Installing NVM
For Windows
Download and install the latest version of nvm for Windows.
For Ubuntu
Run the following:
curl -fsSL https://raw.githubusercontent.com/nvm-sh/nvm/v0.39.5/install.sh | bashThen, add the following to your shell profile (~/.bashrc, ~/.profile, or ~/.bash_profile):
export NVM_DIR="$HOME/.nvm"
[ -s "$NVM_DIR/nvm.sh" ] && \. "$NVM_DIR/nvm.sh"
Apply Changes:
source ~/.bashrcVerify NVM is installed:
nvm --versionOnce confirmed installed, you can install the desired Node.js versions that NVM will manage for you.
Usage
Once installed, you need to tell NVM to install the desired Node.js versions that it will manage for you:
nvm install 16
nvm install 20
Switching Node Versions
With the desired versions of Node.js installed, you can use these commands to switch between them:
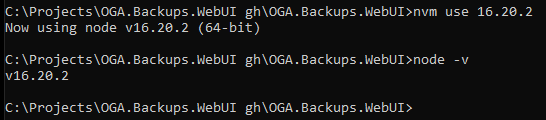
To run Node.js v16 (for Angular v14):
nvm use 16.20.2
To run Node.js v20 (for Angular v17):
nvm use 20.18.3
NOTE: Each time you tell NVM to switch versions, it may require answering a UAC popup.
And once NVM has switched in the desired Node.js version, you can call this, to verify:
node -v