
Raspberry Pi - DotNet Setup
Here’s a short article for setting up a Raspberry PI to run DotNet.
Reference Articles
We are following this article series:
Page #1: RP #01: Setup your Raspberry Pi with Raspberry Pi OS
Page 2: RP #02: Install .NET and develop your first .NET application
Page #3: RP #03: Creating a .NET Service to run automatically on a Raspberry Pi
Setup
Install Raspbian on SD card.
Set a static IP if needed.
Enable SSH.
Verify you can login via Putty.
Update packages by calling this:
sudo apt-get updateUpgrade packages by calling this:
sudo apt-get upgradeAfter the upgrade, remove orphaned packages with this:
sudo apt autoremoveEnabling SSH
To run headless, you will need to enable SSH client access.
Run this to pull up the UI:
sudo raspi-config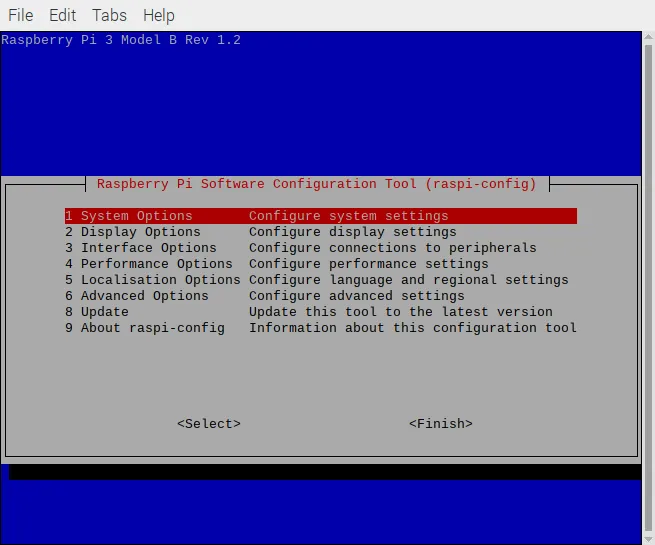
Select Interface Options.
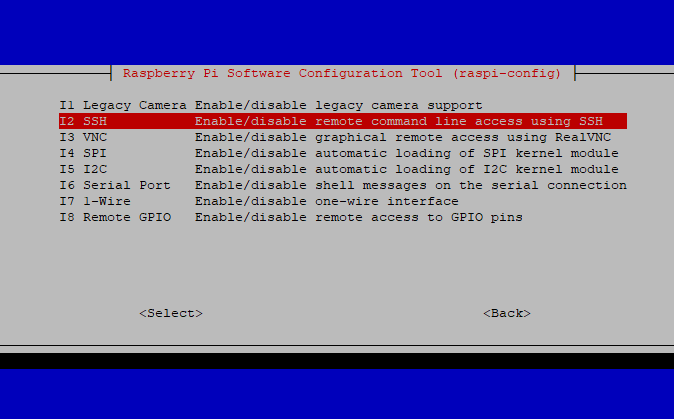
Enable the SSH server:
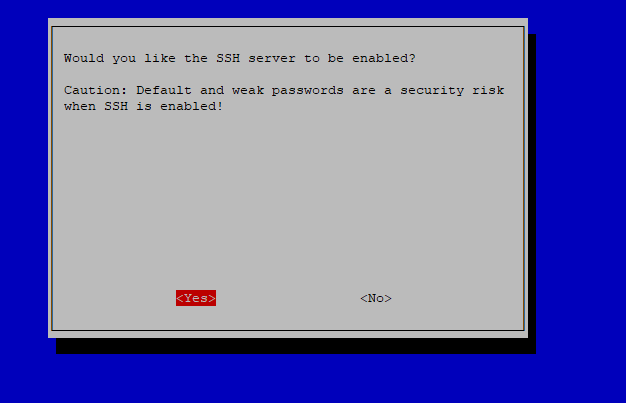
It will ask to reboot, to complete updates.
Dotnet Install
Downloading Latest Dotnet:
This command will download the current/latest dotnet version.
Specifically, it downloads and installs the dotnet SDK for the latest version.
curl -sSL https://dot.net/v1/dotnet-install.sh | bash /dev/stdin --channel Current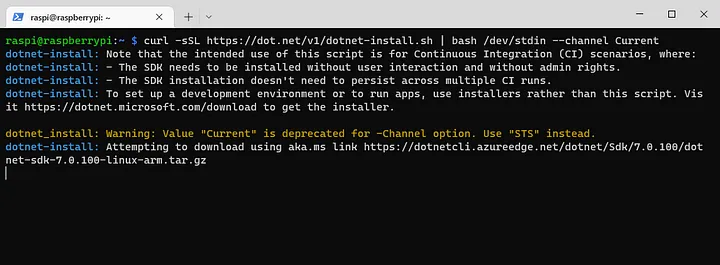
Alternate Version Installation
The script also handles alternate versions and package types.
But, you must install some prerequisites, first.
To do so, run this:
sudo apt-get install libc6 libcurl3 libgcc1 libgssapi-krb5-2 libicu-dev liblttng-ust0 libssl-dev libstdc++6 libunwind8 libuuid1 zlib1gTo use it like this, don’t run the above command as is.
Instead, we will do it in two parts.
Download the install script with this:
curl -sSL https://dot.net/v1/dotnet-install.shOr
wget https://dot.net/v1/dotnet-install.sh -O dotnet-install.shNow, we will add some arguments to it, for the dotnet version we want and what package type.
Before you modify things, you will need to change permissions on the script:
chmod +x ./dotnet-install.shTo install a specific dotnet version, use this:
./dotnet-install.sh --channel 8.0The above will install v 8.0.
Depending on what runtime you want, you can add the ‘--runtime’ argument.
Here are the possible values for the runtime switch:
Installs just the shared runtime, not the entire SDK. The possible values are:
-
dotnet: TheMicrosoft.NETCore.Appshared runtime. -
aspnetcore: TheMicrosoft.AspNetCore.Appshared runtime. -
windowsdesktopTheMicrosoft.WindowsDesktop.Appshared runtime.
Putting the above together, here’s an example of how to install the shared runtime of dotnet v6:
./dotnet-install.sh --runtime dotnet --version 6.0.28
NOTE: The above installs the latest available (as of 20240315) version of NET 6 shared runtime.
If you want to install the asp dotnet core runtime, do this:./dotnet-install.sh --runtime aspnetcore --version 6.0.28
NOTE: The above installs the latest available (as of 20240315) version of NET 6 asp net core runtime.
If you plan to do any remote development with the RPI host as a target, you will need to install the dotnet SDK on that host, so that your Visual Studio Code Remote SSH client can call compiler methods on the RPI host.
To install the SDK for a particular version, do this:./dotnet-install.sh --version 6.0.420
NOTE: The above installs the latest available (as of 20240315) version of NET 6 SDK, which is 420.
This SDK version corresponds to the 6.0.28 runtime.
Add Environment Variables
Once installed, you will need to add a few environment variables.
Run these to add environment variables for dotnet:
echo 'export DOTNET_ROOT=$HOME/.dotnet' >> ~/.bashrc
echo 'export PATH=$PATH:$HOME/.dotnet' >> ~/.bashrc
source ~/.bashrc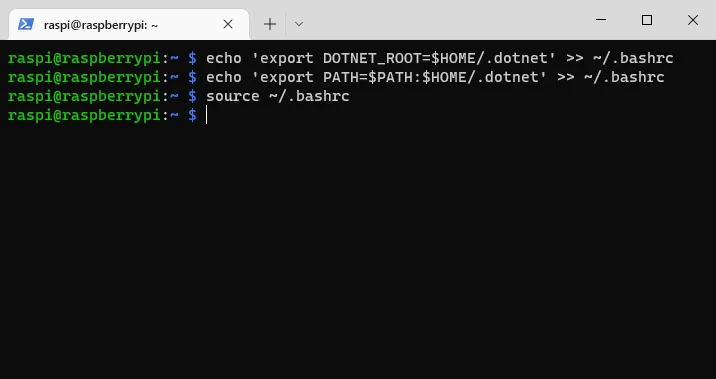
Once that’s installed, we can check the version with this:
dotnet --list-runtimes
